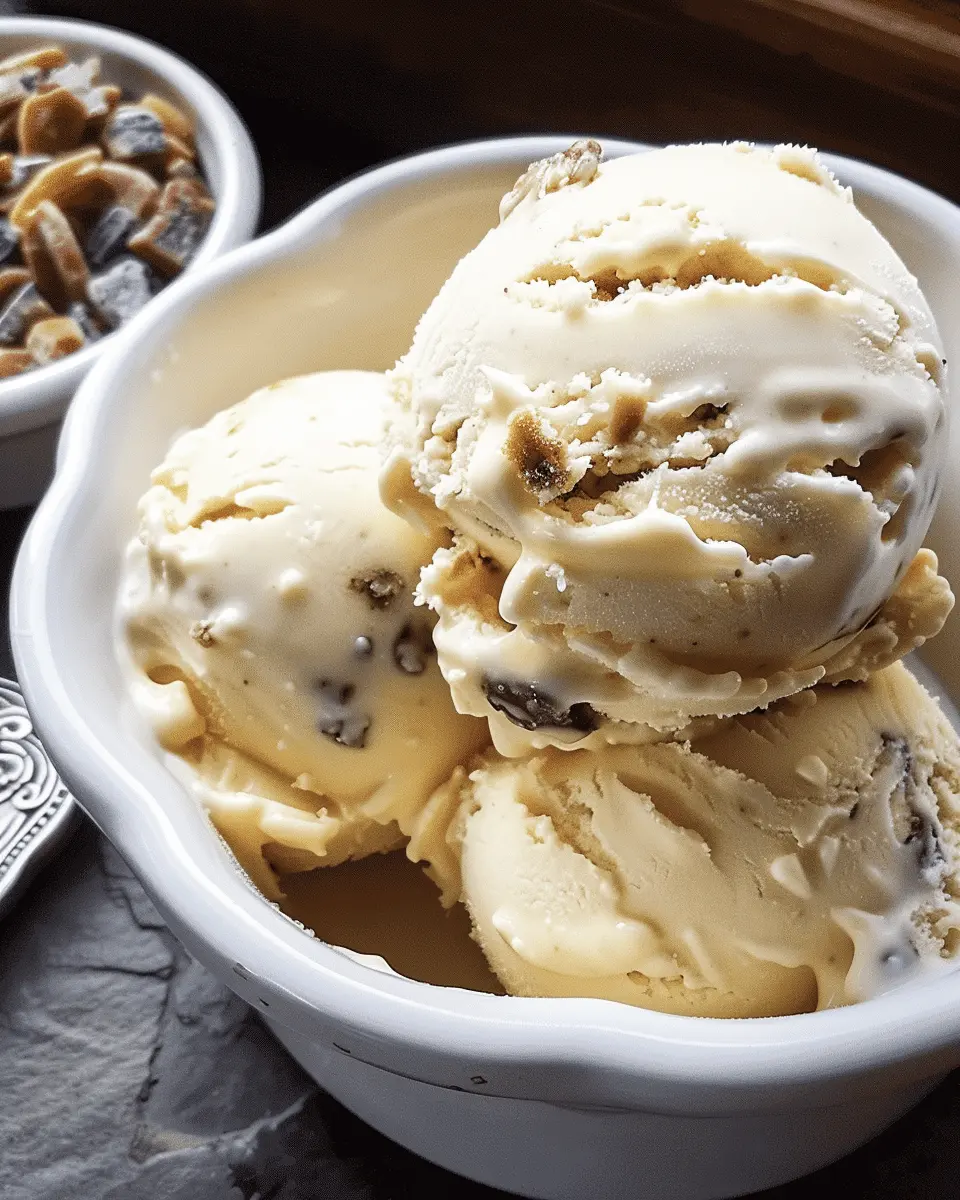
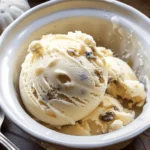
Introduction to Ninja Creami Salted Caramel Ice Cream
There’s something undeniably magical about ice cream. Its creamy texture and rich flavors can transport you to a sunny day, no matter the season. But what if I told you that making your own decadent ice cream at home is not only achievable but also a great way to elevate your dessert game? Enter the Ninja Creami Salted Caramel Ice Cream recipe—a sweet treat that marries convenience with unforgettable flavor.
Why Homemade Ice Cream is a Game-Changer?
Imagine this: you’re at a summer barbecue, and everyone is enjoying a scoop of ice cream, but you’re savoring something truly special—your very own creation. Homemade ice cream gives you the freedom to create unique flavors and tweak recipes to suit your taste. Plus, using your favorite ingredients means you can customize every bite to perfection.
-
Quality Control: When making ice cream at home, you know exactly what goes into it. By choosing high-quality ingredients, like heavy cream and gourmet sea salt, you can avoid artificial flavors and preservatives often found in store-bought options.
-
Endless Flavor Combinations: With homemade ice cream, the possibilities are endless. Want to incorporate fresh fruits or unique mix-ins like crushed cookies? Go for it! The Ninja Creami makes it easy to experiment, catering to your wildest flavor dreams.
-
Perfect for Sharing: Hosting a gathering? Impress your friends and family with this creamy concoction. There’s something special about serving a dessert that you’ve crafted yourself—it sparks conversation and creates lasting memories.
For those who are curious about the science behind ice cream-making, check out this resource from the Ice Cream Chemistry Society. Learning about how ingredients interact can help elevate your homemade creations.
Now, you might be wondering how this all fits into your busy lifestyle. The Ninja Creami simplifies the entire process, allowing you to whip up your favorite flavors quickly and efficiently—perfect for anyone living a fast-paced life. Plus, this particular Ninja Creami Salted Caramel Ice Cream is a crowd-pleaser that can make your desserts the talk of the town.
Ready to dive into the recipe? Let’s get started on creating a frozen treat that’ll keep you coming back for more!
Ingredients for Ninja Creami Salted Caramel Ice Cream
Creating homemade Ninja Creami Salted Caramel Ice Cream is not only rewarding but also surprisingly simple. Here’s a breakdown of the ingredients you’ll need for that perfectly creamy, luscious treat.
Essential ingredients for the base
To form the perfect ice cream foundation, you’ll need:
- Heavy cream: This is your secret weapon for that rich, velvety texture.
- Whole milk: A must for balancing the richness and ensuring a creamy consistency.
- Granulated sugar: Essential for sweetness and smoothness in every scoop.
- Salt: Just a pinch to enhance the overall flavors.
By using high-quality cream and milk, you’re setting the stage for a delightful dessert experience.
Key ingredients for salted caramel flavor
To bring that signature salted caramel taste to life, don’t forget:
- Caramel sauce: You can use store-bought or make your own. Personal favorite? Check out this easy homemade caramel recipe.
- Sea salt: A dash really amps up the flavor—don’t skip this!
- Vanilla extract: Adds depth and warmth, rounding out that sweet and salty profile perfectly.
With these ingredients at your fingertips, you’re just a step away from serving up your delicious Ninja Creami Salted Caramel Ice Cream. Who wouldn’t want to indulge in a bowl of this creamy goodness? Don’t forget to share your experience or variations!
Preparing Ninja Creami Salted Caramel Ice Cream
If you’ve ever tasted the decadent swirl of salted caramel ice cream, you know just how scrumptious it can be. With the Ninja Creami, making your homemade version is not only simple but also incredibly rewarding. So, roll up your sleeves, and let’s dive into the delightful world of preparing Ninja Creami Salted Caramel Ice Cream!
Gather your ingredients
Before you embark on this delicious journey, it’s essential to gather all your ingredients. Here’s what you’ll need:
- 2 cups heavy cream
- 1 cup whole milk
- ¾ cup granulated sugar
- 1 teaspoon pure vanilla extract
- 1 teaspoon sea salt
- 1 cup granulated sugar (for caramelizing)
- ½ cup water (for caramel)
- 1 teaspoon sea salt (finishing salt for the caramel)
It’s key to have everything on hand to make the process seamless. Trust me, the last thing you want is to be scrambling for an ingredient when your sweet tooth is calling!
Crafting the perfect salted caramel
Now that you have your ingredients, let’s create the salted caramel! It’s the heart of our ice cream, so make sure you follow these steps closely:
- In a medium saucepan, combine 1 cup of granulated sugar and ½ cup of water.
- Heat over medium heat until the sugar has dissolved. Once it’s dissolved, you can increase the heat to medium-high.
- Cook without stirring, but gently swirl the pan. This will create a golden-brown caramel. This step takes about 8-10 minutes; patience is key here.
- When it reaches a deep amber color, remove it from heat immediately to prevent burning.
- Carefully add 1 cup of heavy cream (it’ll bubble up!).
- Stir in 1 teaspoon of sea salt until combined. Set aside to cool.
Creating caramel may take a bit of practice, but the satisfaction of mastering it is worth it!
Mixing the ice cream base
While your salted caramel cools, you can whip up the ice cream base. It’s as easy as pie:
- In a large bowl, combine 2 cups of heavy cream, 1 cup of whole milk, ¾ cup of granulated sugar, and 1 teaspoon of pure vanilla extract.
- Whisk them together until the sugar is dissolved and the mixture is smooth.
This lovely mix is what binds it all together and lays the foundation for your salted caramel creation.
Merging caramel and base
Once both the caramel and ice cream base have cooled, it’s time to blend them:
- Gently pour about ⅓ of the salted caramel into the ice cream base and mix with a spatula.
- You could leave some caramel chunks to create a marbled effect in your ice cream, or you can whisk it all for a more uniform distribution.
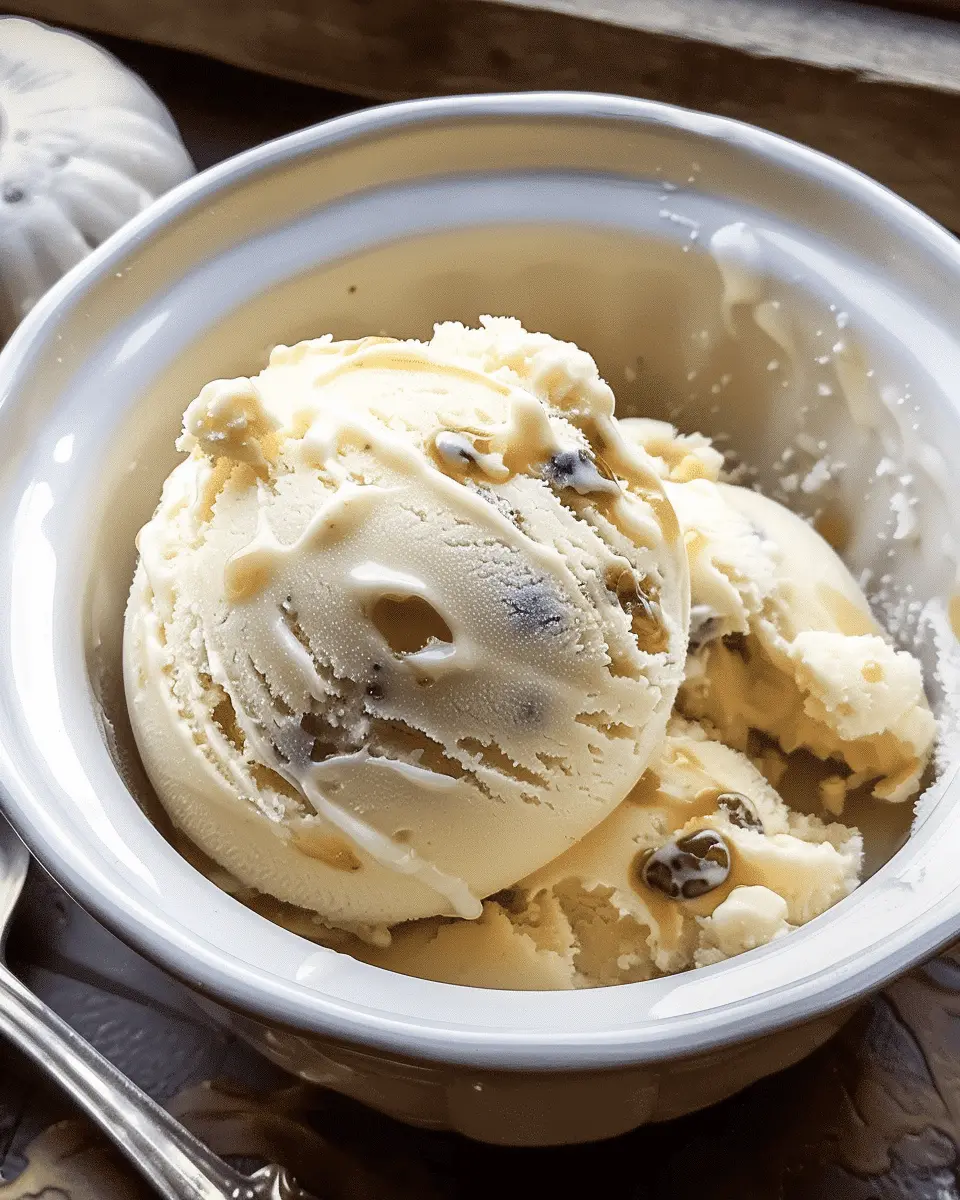
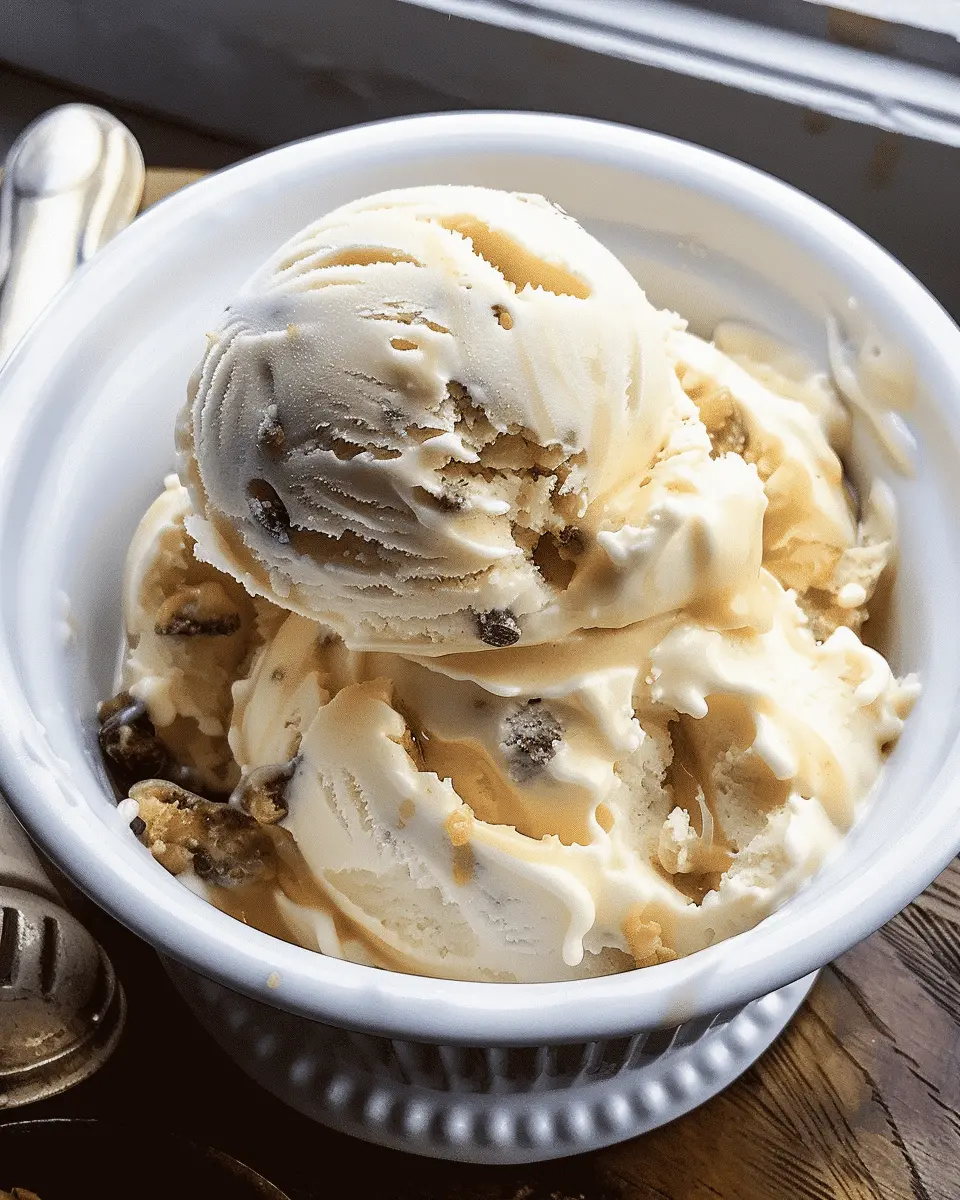
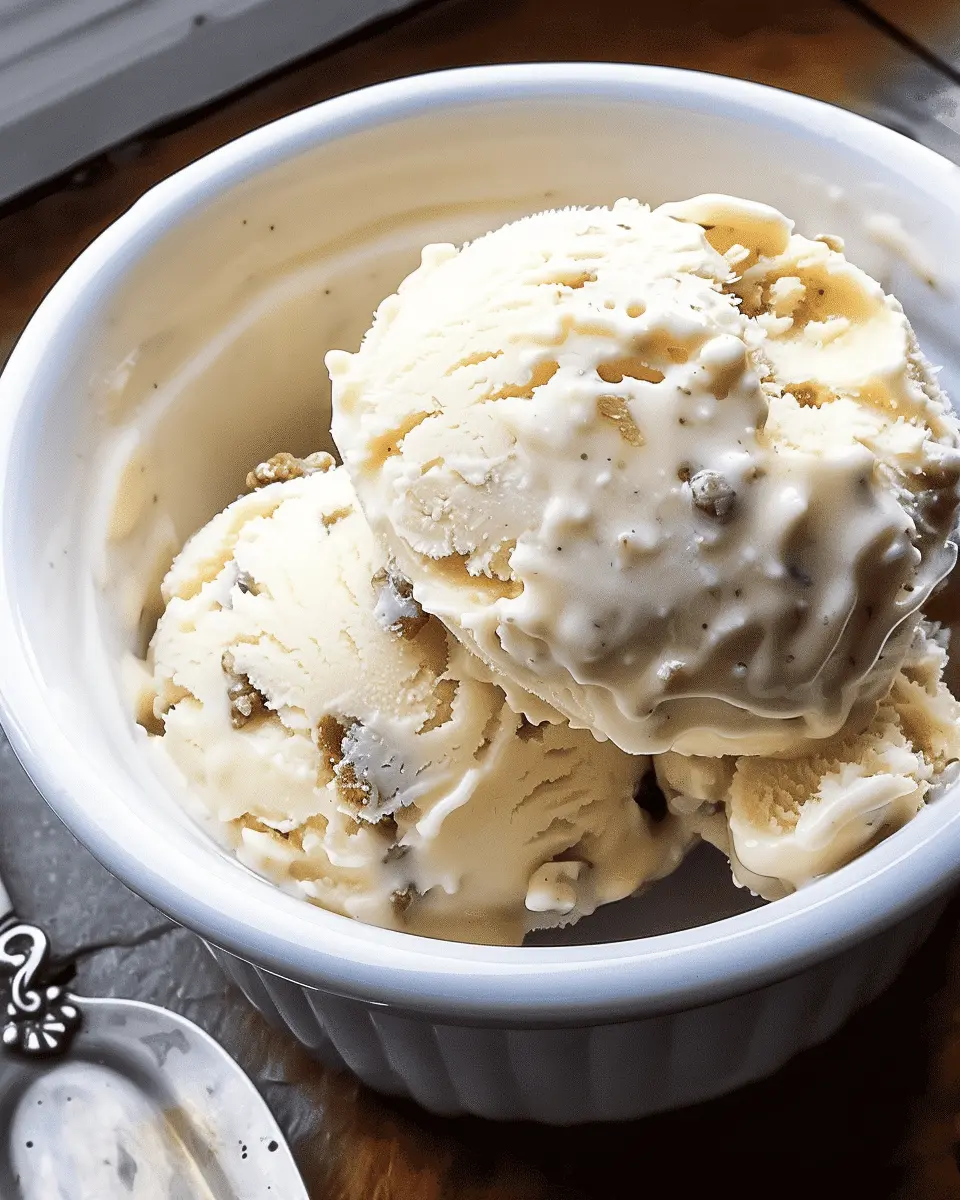
This blend should be luxurious and creamy, highlighting both the base and the salted caramel brilliantly.
Process in the Ninja Creami
With your mixture ready, it’s time to process your Ninja Creami Salted Caramel Ice Cream:
- Pour the mixture into the Ninja Creami pint container and freeze for 24 hours.
- After freezing, remove the pint from the freezer and place it in the Ninja Creami machine.
- Select the “Ice Cream” function and let the machine work its magic.
You’ll be able to hear that delightful sound of the Ninja Creami mixing your creation, and soon enough, you’ll be rewarded with a delightful bowl of ice cream!
Freezing and serving preparations
For the best experience, let your salted caramel ice cream sit at room temperature for about 5-10 minutes before scooping. This softening trick makes it easier to serve and enhances the flavor.
When you’re ready to indulge, you can top it with extra salted caramel drizzle and perhaps some crunchy toasted nuts for texture. Serve in your favorite bowl, and get ready to enjoy your homemade masterpiece!
Now that you’re fully equipped with this step-by-step guide, you’re ready to dive into the world of Ninja Creami Salted Caramel Ice Cream! Bon appétit!
Variations on Ninja Creami Salted Caramel Ice Cream
If you’re already hooked on the smooth, velvety experience of Ninja Creami Salted Caramel Ice Cream, you’re in for a treat. The beauty of homemade ice cream is how easily you can customize it to fit your taste buds. Let’s dive into some delightful variations that will elevate your ice-cream game!
Salted Caramel with Chocolate Swirls
Ready for a flavor explosion? Combine the classic Ninja Creami Salted Caramel Ice Cream base with rich chocolate swirls for a decadent treat. Here’s how to make it:
- Chocolate Syrup: Use a high-quality chocolate syrup or ganache to create those luscious swirls.
- Mixing: In your Ninja Creami, prepare the salted caramel base as per your original recipe, then gently fold in the chocolate syrup before freezing.
The result? An irresistible harmony of buttery caramel and dark chocolate that will make this ice cream a new favorite.
Nutty Caramel Ice Cream with Pecans
For a crunchy twist, consider adding pecans to your Ninja Creami Salted Caramel Ice Cream. Not only do they provide a satisfying crunch, but they also enhance the rich, buttery profile of the caramel. Here’s how to nail this:
- Toasting: Lightly toast the pecans to bring out their nutty flavor—about 5-7 minutes in the oven should do the trick.
- Incorporation: Mix the chopped, toasted pecans into the ice cream base before freezing, ensuring they are evenly distributed.
This variation doesn’t just taste amazing; it introduces a fantastic texture that’ll keep you coming back for more.
Remember, the possibilities are endless! Check out this guide on ice cream variations for even more inspiration. Happy churning!
Cooking tips and notes for Ninja Creami Salted Caramel Ice Cream
Achieving the perfect consistency
When making your Ninja Creami Salted Caramel Ice Cream, consistency is vital for that creamy texture we all crave. Start by ensuring that your base mixture is well chilled before freezing. A tip is to let it cool completely in the fridge, ideally overnight. Also, remember to process the ice cream in small batches, allowing the Ninja Creami to work its magic without overloading it. If your ice cream seems too hard after freezing, simply follow with a quick spin in the Creami for a creamy result, adjusting with a splash of milk if needed.
Storage tips for homemade ice cream
Storing your Ninja Creami Salted Caramel Ice Cream correctly will help maintain its delightful flavor and texture. Use an airtight container to minimize ice crystals, which can mess up its creaminess. Be sure to leave a bit of space at the top for expansion, as your ice cream can harden over time. A great practice is to consume your homemade delight within two weeks for the best quality. If there’s a chance you won’t finish it in time, consider freezing in smaller portions. For more details on ice cream storage, check out FoodSafety.gov.
Happy scooping!
Serving suggestions for Ninja Creami Salted Caramel Ice Cream
Toppings to elevate your ice cream experience
Transform your Ninja Creami Salted Caramel Ice Cream into an indulgent masterpiece with some creative toppings! Here are a few ideas that will bring out that rich caramel flavor:
- Chopped nuts: Almonds and pecans add a pleasant crunch and nuttiness.
- Drizzle of chocolate: A bittersweet chocolate or dark chocolate sauce enhances the overall flavor profile.
- Sea salt flakes: A sprinkle on top will accentuate the salted caramel notes brilliantly.
- Whipped cream: A dollop of light, fluffy whipped cream provides a delightful texture contrast.
Experimenting with these toppings will make each scoop a delightful surprise!
Perfect pairings with desserts
Looking to elevate your dessert game? Pair your Ninja Creami Salted Caramel Ice Cream with complementary treats:
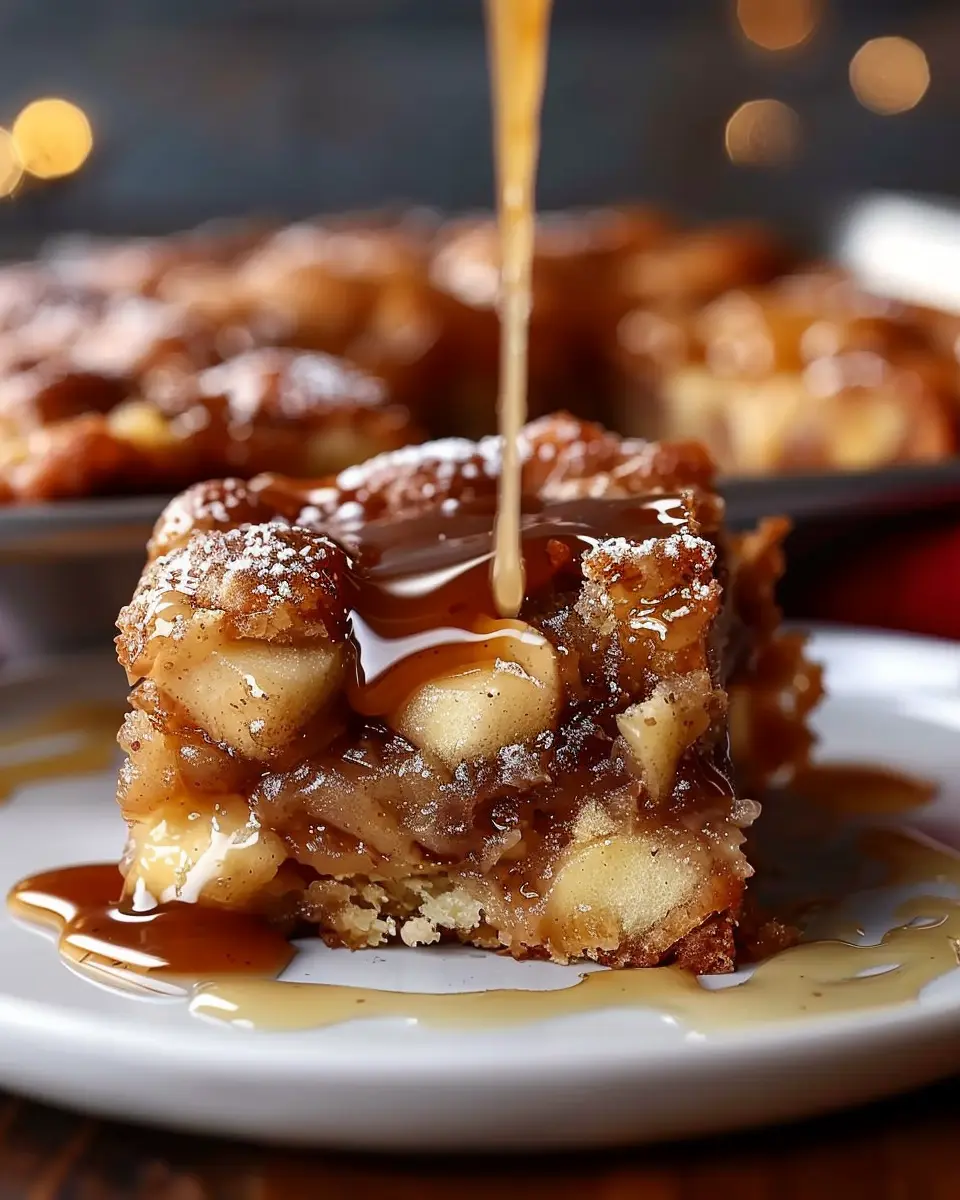
- Chocolate brownies: The fudgy texture pairs wonderfully with the creamy ice cream.
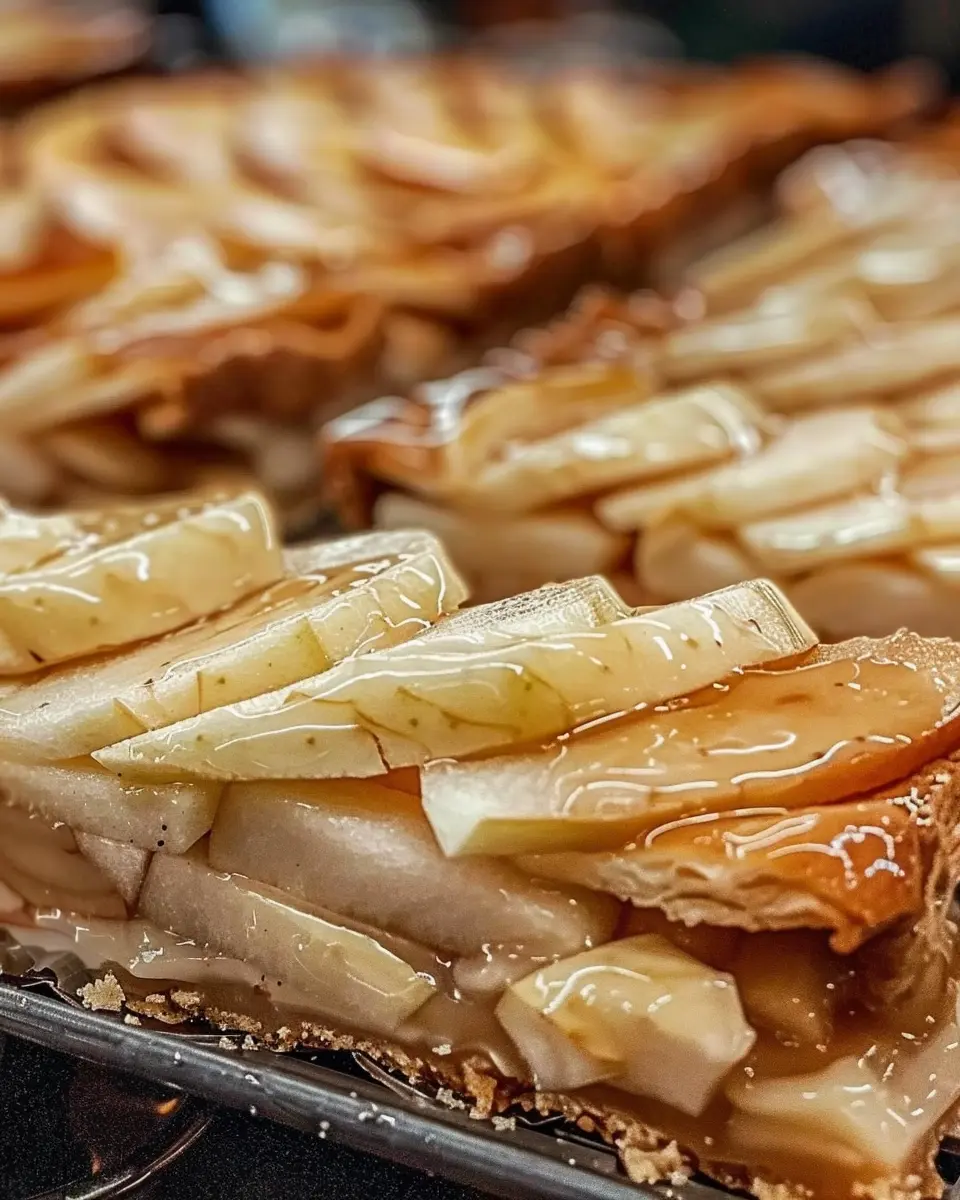
- Fruit tarts: The tartness of fresh fruit balances the sweetness perfectly.
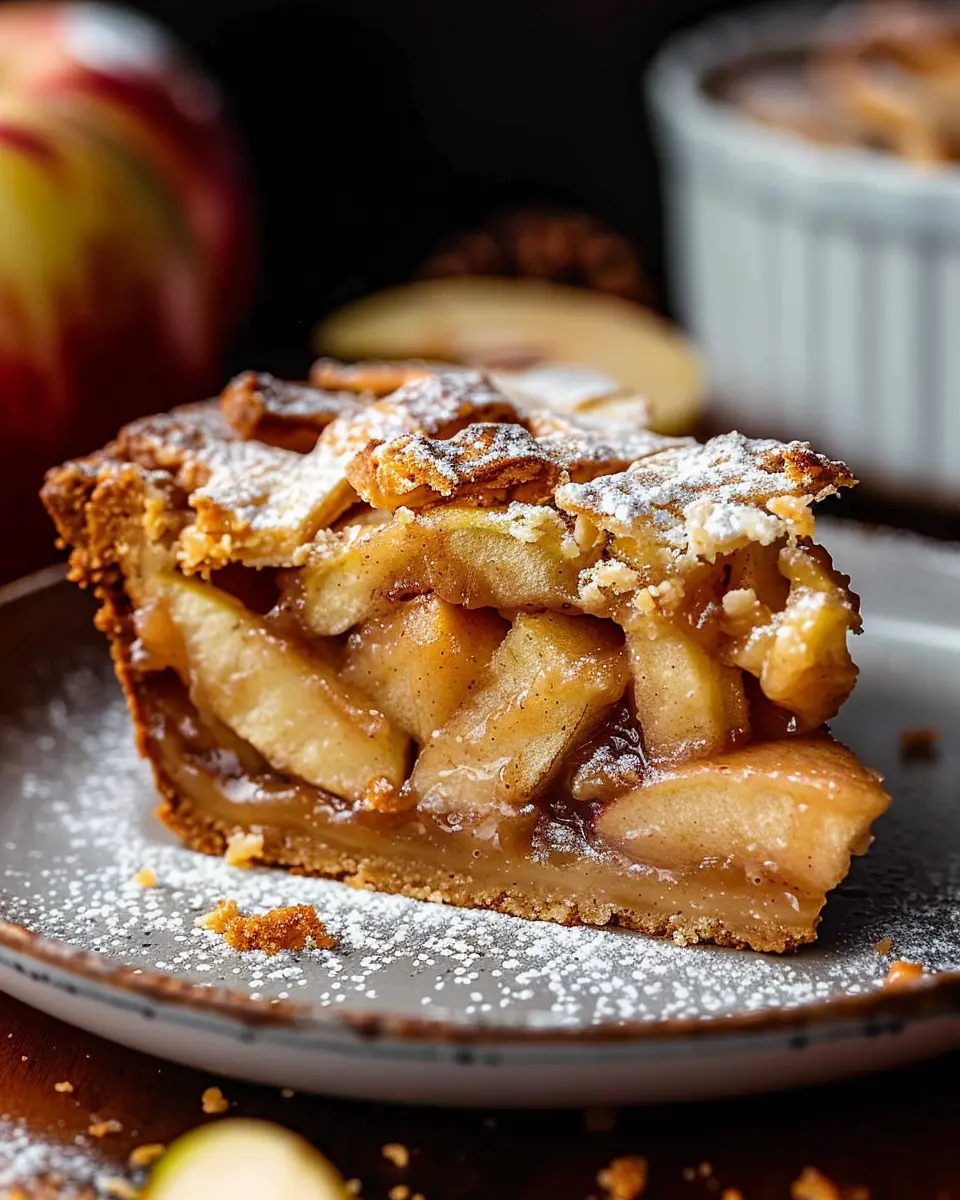
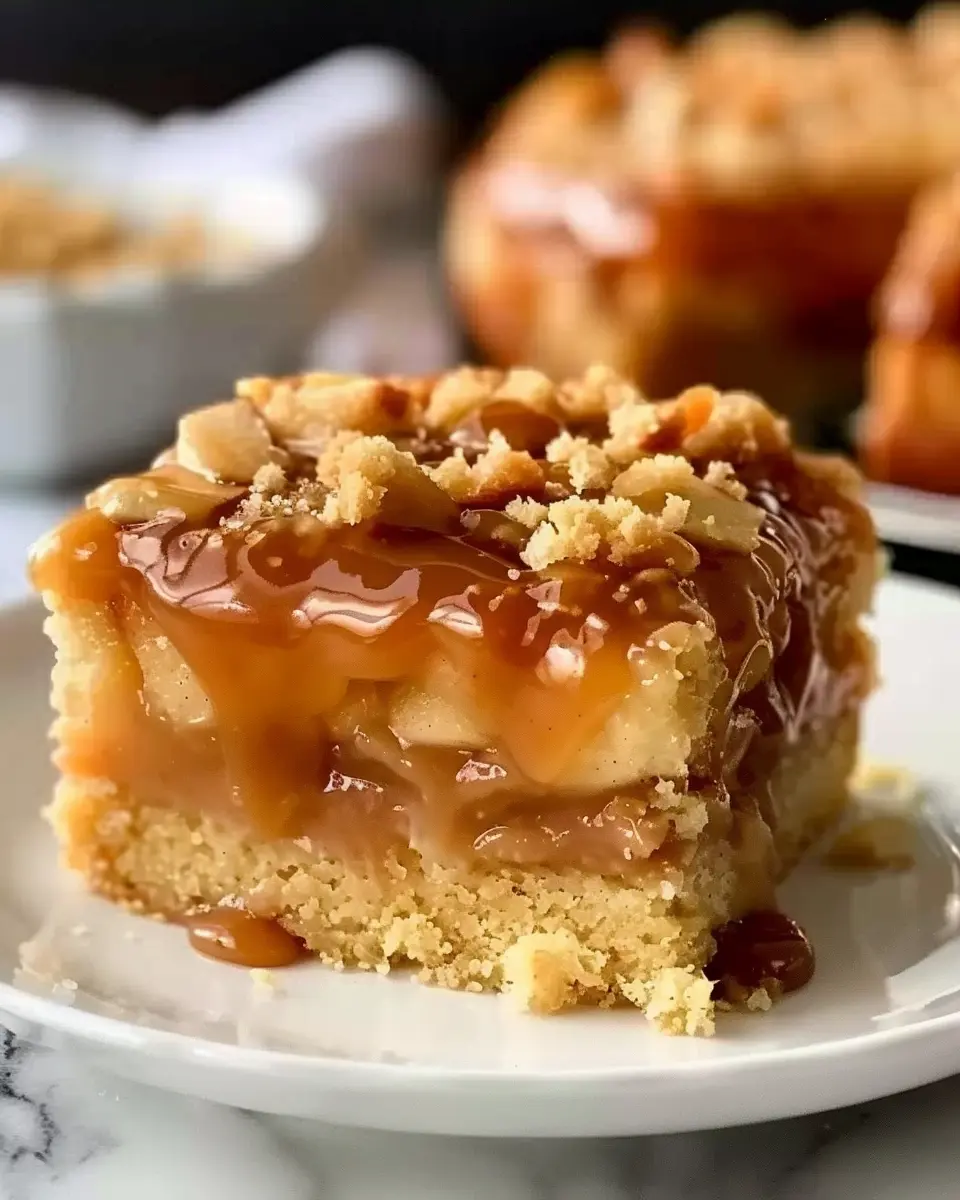
- Apple pie: Adding a scoop on the side makes the classic dessert even more decadent.
These combos are sure to impress guests or even just satisfy your sweet cravings after a long day. Get ready to savor the delicious experience! For more inspiration, check out blogs like Serious Eats for dessert pairing ideas.
Time Breakdown for Ninja Creami Salted Caramel Ice Cream
When it comes to creating the perfect Ninja Creami Salted Caramel Ice Cream, timing is everything! Here’s how to break down the process.
Preparation Time
To whip up this deliciousness, you should allocate around 15 minutes for gathering your ingredients and mixing everything to perfection. It’s a simple process that allows you to channel your inner ice cream maker!
Freezing Time
After prepping, the ice cream base needs to freeze for at least 24 hours. This is where the magic happens as it transforms from liquid to creamy yumminess. Patience is a virtue here—trust us!
Total Time
All in all, you’re looking at approximately 24 hours and 15 minutes from start to finish. However, the good news is most of that time is hands-off, allowing you to plan for a sweet treat at your convenience. Check out resources like Serious Eats for more insights and tips on ice cream making!
Nutritional facts for Ninja Creami Salted Caramel Ice Cream
When you make Ninja Creami Salted Caramel Ice Cream, it’s not just about the delicious flavor; knowing the nutritional facts can help you indulge responsibly. Here’s a quick overview of what you’re getting in each serving.
Calories per serving
Each serving of Ninja Creami Salted Caramel Ice Cream contains approximately 200-250 calories. This makes it a satisfying treat without blowing your daily caloric budget, especially when you’re craving something sweet.
Sugar content
While the creamy delight of salted caramel is irresistible, it does come with sugar. You can expect around 18-22 grams of sugar per serving, depending on how you adjust your recipe with added sweeteners. For those mindful of their sugar intake, consider using natural sweeteners as an alternative!
Fat content
A creamy treat wouldn’t be complete without a dose of fats. This ice cream typically has about 10-15 grams of fat per serving. The good news? It primarily comes from dairy, which also provides some calcium. If you’re looking for ways to make it lighter, using low-fat dairy options could be a great substitute.
By staying informed about the nutritional facts, you can enjoy your Ninja Creami Salted Caramel Ice Cream guilt-free while still treating yourself! If you’re curious about balancing your diet with treats, check out resources like Healthline for more insights.
FAQs about Ninja Creami Salted Caramel Ice Cream
Can I make it dairy-free?
Absolutely! If you want to enjoy your Ninja Creami Salted Caramel Ice Cream without dairy, you can substitute traditional ingredients with dairy-free alternatives. For the base, consider using coconut milk, almond milk, or oat milk. For a creamier texture, you might want to try full-fat coconut cream. Just make sure the caramel sauce you use is also dairy-free. You’ll find that the rich flavors can shine through just as beautifully in a dairy-free version.
How long will it last in the freezer?
Once you’ve made your Ninja Creami Salted Caramel Ice Cream, it can last up to 2-3 weeks in the freezer. To maintain the best texture, store it in an airtight container. Pro tip: let it sit at room temperature for about 5-10 minutes before serving for easier scooping. After all, nobody likes a hard-as-a-rock ice cream, right?
What if I don’t have a Ninja Creami?
No Ninja Creami? No problem! You can still create delicious salted caramel ice cream using traditional methods. Simply use a bowl and a whisk or a hand mixer to incorporate air into your ice cream base before freezing. Alternatively, you can put your mixture in a shallow dish and stir it every 30-60 minutes as it freezes, to break up ice crystals and achieve that creamy texture. If you’re after a no-churn recipe, consider checking out this guide for additional tips.
Enjoy crafting your perfect batch of Ninja Creami Salted Caramel Ice Cream!
Conclusion on Ninja Creami Salted Caramel Ice Cream
Reflecting on the joy of homemade ice cream, it’s hard not to smile at the memories you’ll create while making Ninja Creami Salted Caramel Ice Cream. Whether it’s a sunny day or a cozy evening in, the simple act of churning ingredients together brings a delightful experience. The combination of rich, creamy flavors with that perfect hint of salt transforms your kitchen into a dessert haven.
Plus, making ice cream at home allows you to customize flavors, ensuring every scoop is just how you like it. For more insights on homemade ice cream techniques, check out resources from The Ice Cream Science or Homemade Ice Cream to enhance your ice cream adventures!
PrintNinja Creami Salted Caramel Ice Cream: Easy Homemade Indulgence
Indulge in the creamy goodness of Ninja Creami Salted Caramel Ice Cream, an easy and delightful homemade treat.
- Prep Time: 15 minutes
- Total Time: 24 hours 15 minutes
- Yield: 4 servings 1x
- Category: Dessert
- Method: Ninja Creami
- Cuisine: American
- Diet: Vegetarian
Ingredients
- 2 cups heavy cream
- 1 cup sweetened condensed milk
- 1/2 cup salted caramel sauce
- 1 teaspoon vanilla extract
- 1/4 teaspoon sea salt
Instructions
- In a large bowl, combine heavy cream, sweetened condensed milk, salted caramel sauce, vanilla extract, and sea salt. Whisk until well combined.
- Pour the mixture into the Ninja Creami container and freeze for at least 24 hours.
- Once frozen, process according to the Ninja Creami instructions until smooth and creamy.
- Serve immediately or refreeze for a firmer texture.
Notes
- For a richer flavor, use dark chocolate or extra caramel sauce.
- Ensure the mixture is fully frozen to achieve the best texture.
Nutrition
- Serving Size: 1/2 cup
- Calories: 250
- Sugar: 20g
- Sodium: 150mg
- Fat: 15g
- Saturated Fat: 10g
- Unsaturated Fat: 3g
- Trans Fat: 0g
- Carbohydrates: 30g
- Fiber: 0g
- Protein: 2g
- Cholesterol: 60mg
Keywords: Ninja Creami, Salted Caramel, Ice Cream, Homemade Dessert