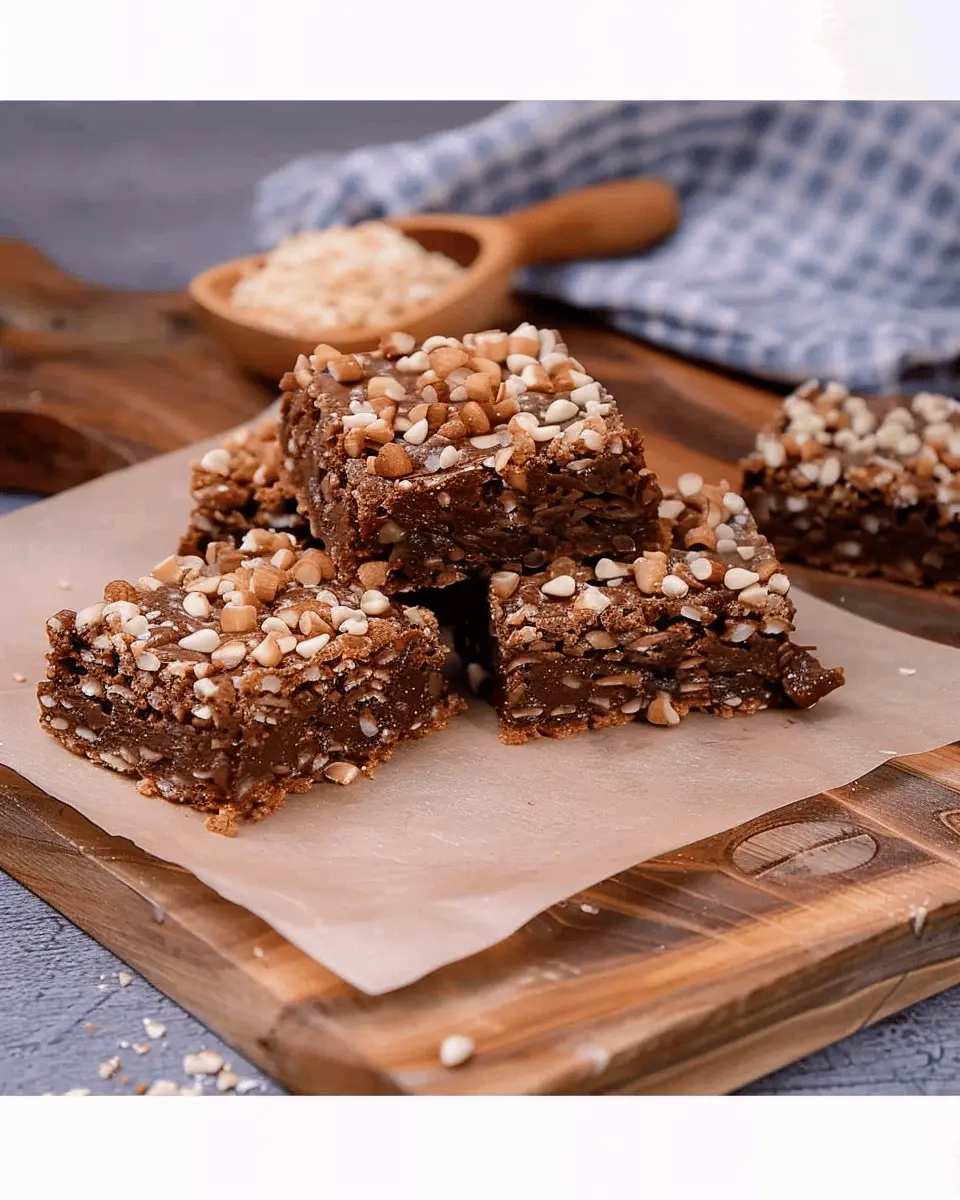
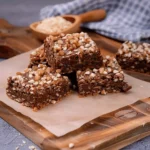
Introduction to Homemade Crunch Bars
Are you searching for a delightful snack that combines crunch, sweetness, and the satisfaction of knowing exactly what’s in it? Look no further than homemade crunch bars! These treats are not just a delicious indulgence; they also offer you the opportunity to customize your ingredients, making them a healthier alternative to store-bought options.
Why Homemade Crunch Bars are the Perfect Snack
Homemade crunch bars are a fantastic option for busy young professionals looking to spice up their snack game. Instead of reaching for a bag of chips or a sugary granola bar with unpronounceable ingredients, consider making your own.
Here are a few reasons why homemade crunch bars stand out:
-
Control Over Ingredients: You choose the base—be it oats, rice cereal, or nuts—so you can cater to dietary needs or personal preferences. Want to swap in Turkey Bacon for a savory twist? Go for it! Curious about adding more protein? Throw in some nut butter or seeds.
-
Cost-Effective: Making your own snacks is often more economical than buying packaged goods. A little batch of crunch bars can stretch for days, making them an excellent value. Sites like Investopedia explain how meal prepping can save you money!
-
Customization: Don’t like a particular flavor? Substitute it! Prefer dark chocolate over milk? Swap away! Make your homemade crunch bars personalized to your taste buds.
-
Healthier Choices: When you make your crunch bars at home, you navigate clear of hidden sugars and preservatives. This conscious effort leads to healthier choices that align with your lifestyle. Healthline provides some great insights on maintaining a balanced diet.
You might wonder how long they actually take to make. The beauty of homemade crunch bars is that they typically require minimal prep time—just mix, set, and enjoy. This low-effort preparation is perfect for those hectic work weeks when you need a quick energy boost.
So, why not give them a try? Your taste buds will thank you, and who knows, you might just find your new go-to snack!
Ingredients for Homemade Crunch Bars
Essential ingredients for a basic crunch bar recipe
Creating your own homemade crunch bars is an exciting kitchen project, and it all starts with the right ingredients. For a classic version, you’ll need:
- Chocolate: Dark or milk chocolate works beautifully—just choose what you love!
- Crispy Rice Cereal: This gives that signature crunch; you can find varieties like organic or gluten-free.
- Nut Butter: Peanut butter or almond butter adds richness, while also binding your bars together.
- Sweetener: Honey, maple syrup, or agave are fantastic choices to bring the sweetness you crave.
These core ingredients will provide a solid base for your homemade crunch bars, ensuring they turn out delicious every time.
Suggestions for add-ins and substitutions
Why stop at basic when you can customize? Here are some fun add-ins and substitutions to elevate your homemade crunch bars:
- Nuts and Seeds: Try adding almonds, walnuts, or chia seeds for an extra crunch.
- Dried Fruit: Consider raisins, cranberries, or even chopped apricots for a chewy texture.
- Spices: A dash of cinnamon or vanilla extract can add warmth and depth.
- Chocolate Chips: Mix in different types—for example, the mini ones for a delightful surprise.
Feeling adventurous? Experimenting can make your bars uniquely yours—go wild, and enjoy the process of creating your perfect snack! For some industry insights, check out this article on healthy snacking.
Preparing Homemade Crunch Bars
Making homemade crunch bars is not only a delightful baking experience but also an opportunity to create a treat tailored to your taste preferences! With just a few simple ingredients and steps, you can whip up a batch that’s sure to impress friends, family, or even just yourself. Let’s dive into the process!
Gather All Your Ingredients
Before diving into the fun of baking, you want to set yourself up for success. Gather all your ingredients so you’re not scrambling around the kitchen mid-recipe. Here’s what you’ll need:
- Chocolate: You can choose semi-sweet or dark chocolate, depending on how rich you want the bars to be.
- Peanut butter: Natural or creamy peanut butter works best for that melt-in-your-mouth texture.
- Crunchy elements: Rice cereal is the classic choice, but you can also mix in nuts, granola, or even crushed cookies for added flavor.
- Sweetener: Honey or maple syrup can enhance the sweetness and bind your mixture together.
- Vanilla extract: Just a splash adds depth to your flavors.
Take a look at this comprehensive guide on choosing the best baking chocolate for your homemade crunch bars if you’re unsure which to pick.
Prepare Your Baking Dish
Now that you’ve gathered everything, it’s time to prepare your baking dish. Grab an 8×8 inch square pan for a perfect bar thickness. Start by lightly greasing the bottom and sides with cooking spray or line it with parchment paper for easy removal later. This simple step ensures that your homemade crunch bars won’t stick, allowing for a beautiful presentation.
Melt and Mix the Base Ingredients
Let’s get those taste buds tingling! In a microwave-safe bowl, combine your chocolate and peanut butter. Heat in the microwave in 30-second intervals, stirring in between until everything is perfectly melted and smooth. You want a luscious, glossy mixture. Once melted, mix in your sweetener and a splash of vanilla extract. This is the foundation of your homemade crunch bars, so take a moment to enjoy that heavenly aroma!
Fold in Your Crunchy Elements
After your base is mixed to perfection, it’s time for the fun part—adding crunch! This is where you can get creative. Gently fold in your rice cereal (and any extras like nuts or granola). Be careful not to overmix; you want to keep that delightful crunch intact. This delightful combination is where flavors collide, creating a texture that will have everyone reaching for seconds.
Spread the Mixture and Press Down
Now, pour your mixture into your prepared baking dish. Using a spatula or your hands (lightly greased), evenly spread the mixture throughout the pan. Make sure to press it down firmly; this step is essential for ensuring your homemade crunch bars hold together when cut. Keep a bit of pressure while flattening—no one wants a crumbly bar!
Chill and Cut Into Bars
You’ve made it to the final step! Place the pan in the refrigerator and allow it to chill for about 1-2 hours. This will help everything firm up beautifully. Once chilled, lift the mixture out of the pan (thanks to the parchment paper) and cut it into squares or bars.
Enjoy your delicious homemade crunch bars as a sweet treat or a fun on-the-go snack!
Creating these bars is a perfect way to bond with friends or family over a shared love for baking. Have you customized this recipe yet? If so, share your favorite twists in the comments below!
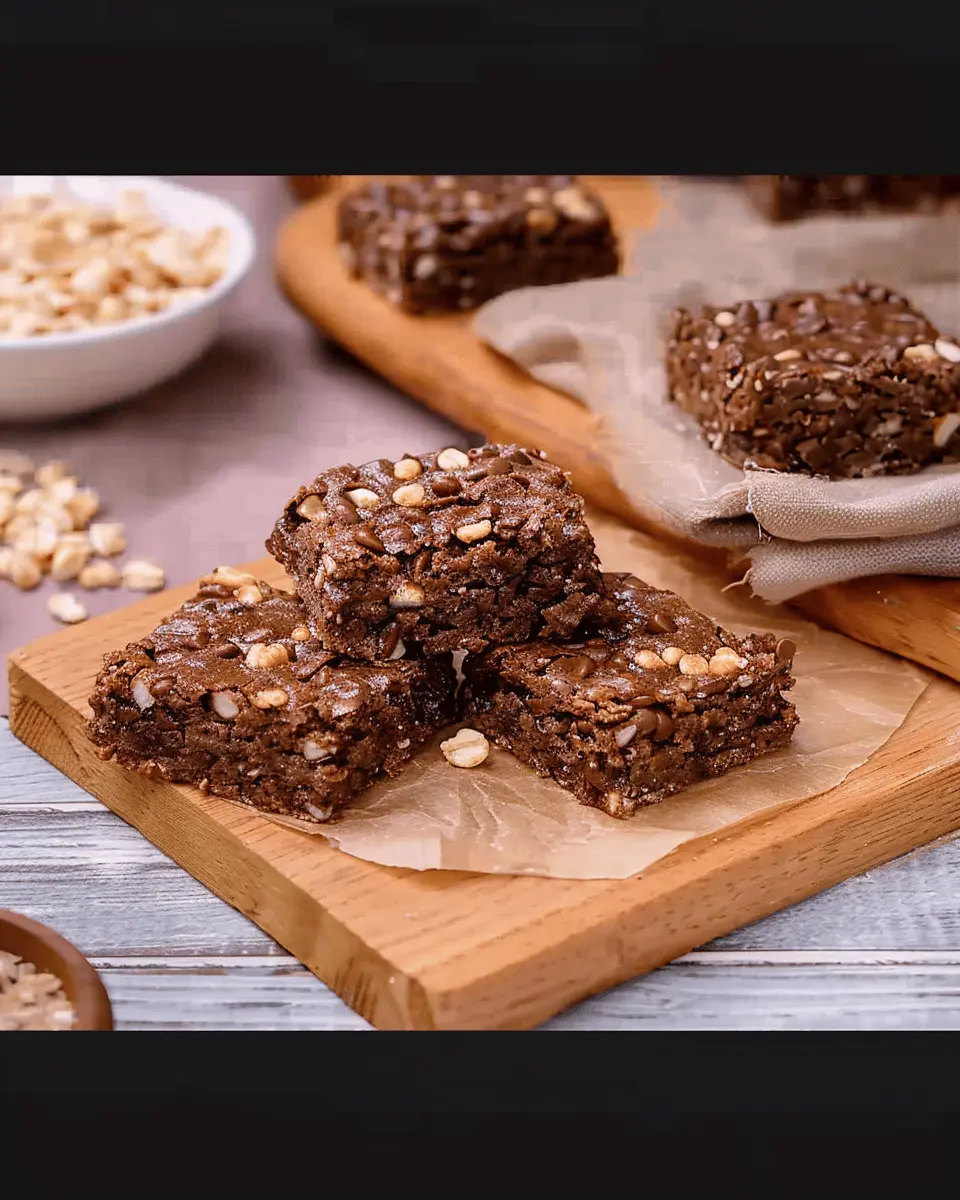
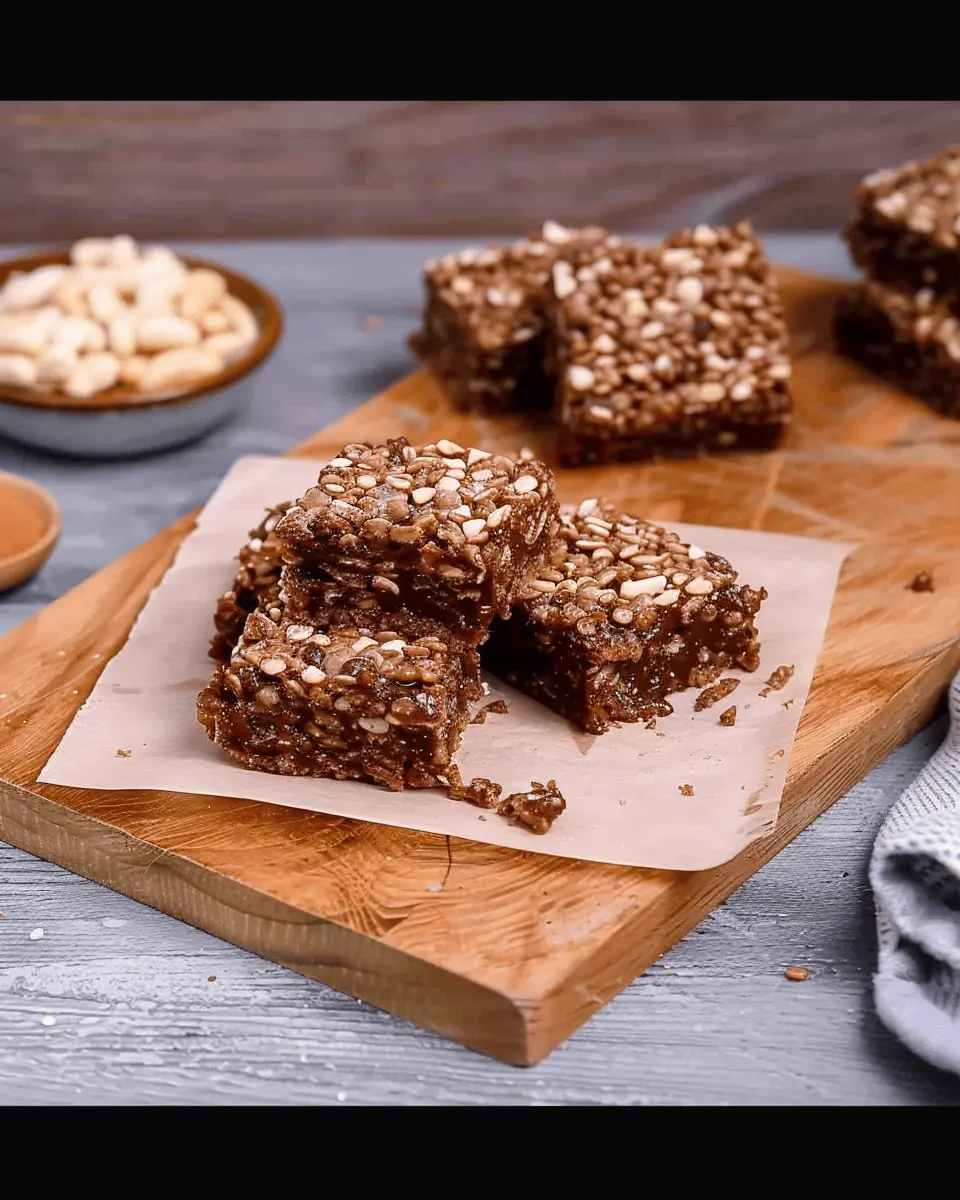
Variations on Homemade Crunch Bars
When it comes to homemade crunch bars, the flavor variations are nearly endless! Whether you’re in the mood for something classic or need to accommodate dietary preferences, here’s how to mix it up.
Chocolate Peanut Butter Crunch Bars
If you’re a fan of the beloved flavor combo of chocolate and peanut butter, these bars will become your go-to. Imagine a crispy base made from rice cereal, layered with a creamy peanut butter mixture, all enveloped in rich dark chocolate.
To create these divine treats, simply:
- Melt dark chocolate and stir in peanut butter until smooth.
- Combine with your crispy base and pour it into a lined baking dish.
- Chill until set, then cut into bars.
For an added twist, sprinkle some sea salt or chopped peanuts on top before the chocolate sets. The contrast between sweet, salty, and crunchy textures is irresistible! You might want to check out this peanut butter benefits article for more information on the health perks!
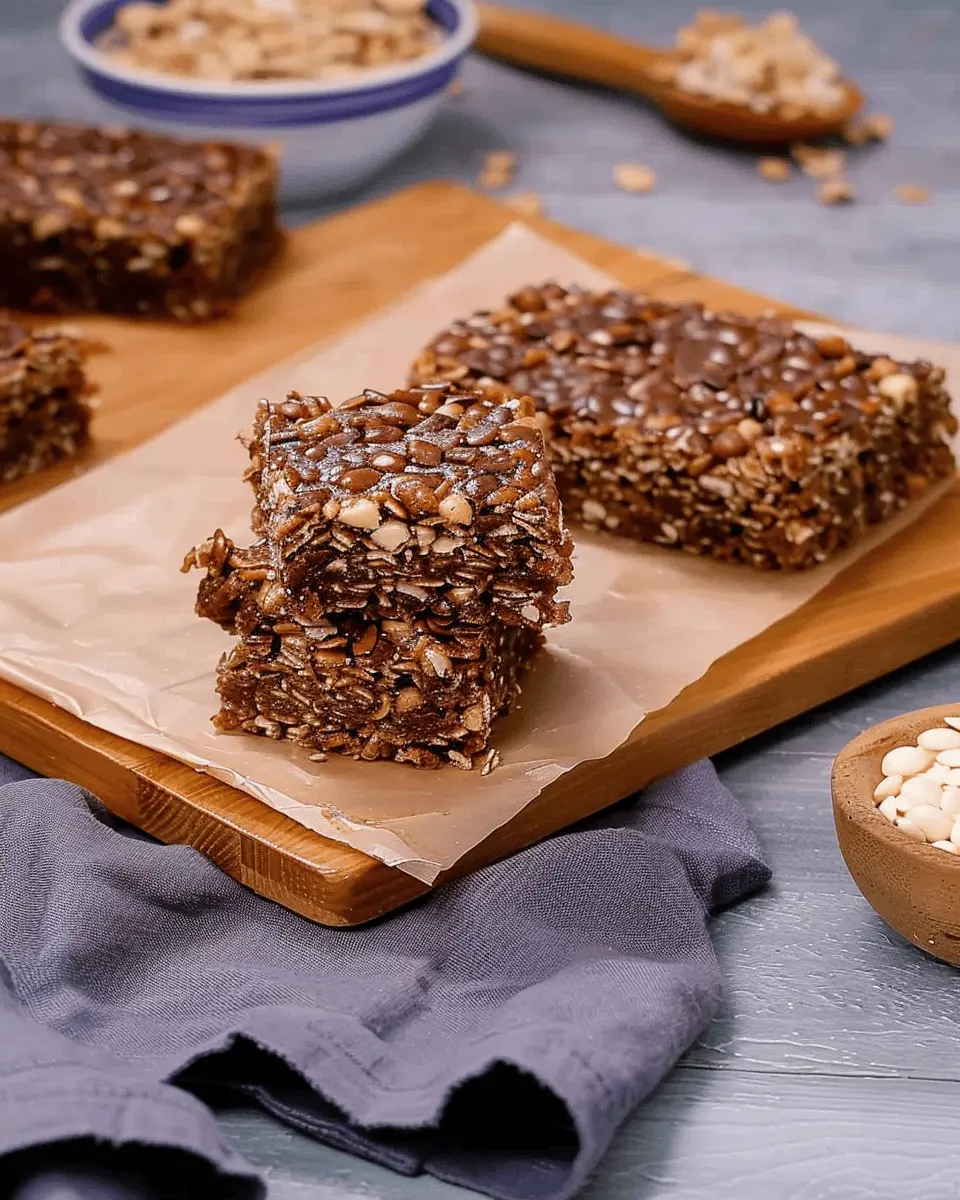
Nut-Free Crunchy Bars
Great for those allergic to nuts or just looking for a nut-free snack, these bars can easily accommodate that need. You can use sunflower seed butter as a perfect substitute for peanut butter. It provides that creamy element without the nuts.
Here’s a simple guide:
- Use the same base ingredients as the standard crunch bars with rice cereal or oats.
- Instead of nut butter, mix in sunflower seed butter with some maple syrup for sweetness.
- Top with chocolate chips or a drizzle of melted chocolate to elevate the flavor.
These nut-free crunchy bars are not just safe for school lunches; they also please every palate, ensuring no one misses out on the fun of homemade crunch bars. Who doesn’t love a snack that everyone can enjoy?
Try out these variations, and let your creativity shine! What’s your favorite flavor combination?
Cooking tips and notes for Homemade Crunch Bars
Tips for perfecting the texture
Achieving that delightful crunch in your homemade crunch bars is all about the right balance of ingredients. Here are some tips to consider:
- Roast Your Nuts: Lightly toasting nuts enhances their flavor and adds crunch. Keep an eye on them; they can go from perfect to burnt in a flash!
- Use Crisped Rice: This isn’t just any rice; opt for crispy rice cereal. It provides that signature crunch and ensures your bars don’t become too dense.
- Cool Before Cutting: Patience pays off. Allow the mixture to cool completely in the pan before slicing—this helps maintain structure and keeps them from falling apart.
Notes on ingredient quality
Fresh, high-quality ingredients can elevate your homemade crunch bars significantly. Here’s what to look for:
- Chocolate Selection: Choose good-quality chocolate for melting. Brands with higher cocoa content often taste richer and more decadent.
- Natural Sweeteners: Consider using maple syrup or honey instead of refined sugar for a more complex flavor profile—plus, they often have health benefits.
For more ingredient tips, check out sources like Serious Eats or America’s Test Kitchen for expert advice!
Serving suggestions for Homemade Crunch Bars
Great pairings for crunch bars
When it comes to homemade crunch bars, the right pairing can elevate your snack experience. Consider serving your bars with:
- Creamy Nut Butters: A dollop of almond or peanut butter adds a protein punch.
- Fresh Fruits: Pair with sliced bananas, strawberries, or apples for a refreshing contrast.
- Yogurt: A side of Greek yogurt, drizzled with honey, makes for a delightful dip.
- Herbal Tea: A warm cup of chamomile or mint tea complements the sweetness beautifully.
Creative serving ideas
Serving your homemade crunch bars doesn’t have to be mundane. Here are some creative ideas to impress your friends:
- Dessert Charcuterie Board: Incorporate crush bars into a variety of nuts, dried fruits, and dark chocolate for an appealing display.
- Ice Cream Topping: Crumble your crunch bars atop vanilla or chocolate ice cream for a fun sundae twist.
- Pack for Lunch: Slice them into bite-sized pieces for easy office snacks or lunchbox treats.
Feeling inspired? You can check out sources like The Kitchn for more fun ideas on creating delicious pairings! Embrace the joy of serving and enjoy the delightful crunch!
Time Breakdown for Homemade Crunch Bars
When you’re craving a sweet treat, the timing for preparation can make a big difference. Here’s how the time breaks down for creating homemade crunch bars.
Preparation Time
Getting everything ready takes about 10-15 minutes. You’ll be measuring out your ingredients, melting chocolate, and mixing in those crispy rice cereal bits. Keep your kitchen tools handy to make the process smoother!
Chilling Time
After pouring your mixture into a lined pan, it’s time to chill. This step usually takes around 30 minutes. Patience is key; letting it set properly ensures the perfect crunch.
Total Time
In total, you’re looking at about 45-60 minutes from start to finish. With minimal active cooking time, you’ll have plenty of opportunities to multitask.
For more tips on perfecting your homemade crunch bars, check out these resources from Food Network and Serious Eats!
Nutritional Facts for Homemade Crunch Bars
Calories per Serving
When diving into the world of homemade crunch bars, knowing the caloric content can help you indulge responsibly. Each bar contains approximately 150 calories, making it a satisfying treat without going overboard. So, if you’re looking for an afternoon pick-me-up, these bars can easily fit into your daily calorie budget.
Key Nutrients
What sets these homemade crunch bars apart is not just their taste but the nutrition they offer. A typical serving includes:
- Healthy Fats: These bars usually contain nuts or seeds, providing essential fatty acids for heart health.
- Protein: With ingredients like nut butter and oats, you’ll get a good protein boost to keep you full longer.
- Fiber: The oats and any dried fruits contribute to your daily fiber intake, aiding digestion and promoting fullness.
For more insights into the nutritional benefits of ingredients like oats, check out this informative resource from the Whole Grains Council.
Ultimately, by making your own homemade crunch bars, you have control over what goes in, ensuring a delicious and healthy snack that fits your lifestyle. So, why not create a batch this weekend? Your taste buds—and your body—will thank you!
FAQs about Homemade Crunch Bars
Can I make these crunch bars vegan?
Absolutely! You can easily make homemade crunch bars vegan by swapping out a few ingredients. Instead of using traditional chocolate, choose a vegan chocolate brand that contains cocoa solids, cocoa butter, and sweeteners without any animal by-products. You can also replace any butter with plant-based alternatives like coconut oil or a vegan margarine. Don’t forget to check the label on your cereal; many are naturally vegan!
How do I store homemade crunch bars?
Storing your homemade crunch bars properly can help maintain their delicious crunch and freshness. Here are a few tips:
- Cool Completely: Ensure the bars are fully cooled before storing to prevent them from becoming soggy.
- Airtight Container: Place them in an airtight container; this helps keep moisture at bay and maintains texture.
- Refrigerate or Freeze: For longer storage, consider keeping them in the refrigerator for up to two weeks or freezing them for up to three months. Just layer them with parchment paper to avoid sticking!
What can I use as a substitute for syrup?
If you’re out of syrup or simply want a healthier alternative, there are several substitutes you can try for your homemade crunch bars:
- Honey: This is a great option if you’re not strictly vegan; it adds sweetness and moisture.
- Agave Nectar: A vegan-friendly alternative that works well.
- Brown Rice Syrup: It has a mild flavor and can often replace syrup at a 1:1 ratio.
- Maple Syrup: A classic choice that adds a unique flavor profile, though it may alter the final taste slightly.
Feeling inspired? Check out more delicious ideas on EatingWell for healthy recipe swaps that fit your lifestyle!
Conclusion on Homemade Crunch Bars
Recap of Why Homemade Crunch Bars Are a Game-Changer
Homemade crunch bars stand out as a delightful treat that not only satisfies your sweet tooth but also offers the perks of customization. By making your own, you can control the ingredients, giving you the freedom to steer clear of unwanted additives while incorporating your favorite flavors.
Imagine biting into a bar that’s both crispy and chewy—made just how you like it! Plus, they’re an excellent option for meal prep or satisfying a mid-afternoon craving. With options like dark chocolate or nut butter, you can get creative in the kitchen.
So, why not give these homemade crunch bars a try? They’re a fun and rewarding way to elevate your snacking game. For more inspiration, check out resources like Healthline to explore the benefits of homemade snacks. You might just find a new favorite recipe!
PrintHomemade Crunch Bars: The Best Easy Treat for Sweet Cravings
Delight in the crispy and chewy goodness of homemade crunch bars that satisfy sweet cravings with every bite.
- Prep Time: 15 minutes
- Cook Time: 10 minutes
- Total Time: 25 minutes
- Yield: 16 bars 1x
- Category: Desserts
- Method: No-Bake
- Cuisine: American
- Diet: Vegetarian
Ingredients
- 1 cup chocolate chips
- 2 cups puffed rice cereal
- 1/2 cup peanut butter
- 1/4 cup honey
- 1/2 tsp vanilla extract
Instructions
- In a saucepan, combine the chocolate chips, peanut butter, and honey over low heat.
- Stir until smooth and fully combined.
- Remove from heat and mix in the puffed rice cereal and vanilla extract.
- Spread the mixture into a greased baking dish and press down evenly.
- Allow to cool for at least an hour before cutting into bars.
Notes
- These bars can be customized with your favorite toppings like nuts or dried fruit.
- For a crunchier texture, add more puffed rice cereal.
Nutrition
- Serving Size: 1 bar
- Calories: 150
- Sugar: 10g
- Sodium: 50mg
- Fat: 8g
- Saturated Fat: 2g
- Unsaturated Fat: 6g
- Trans Fat: 0g
- Carbohydrates: 18g
- Fiber: 1g
- Protein: 3g
- Cholesterol: 0mg
Keywords: Homemade Crunch Bars, easy treat, sweet cravings