Introduction to Amazing Pumpkin Patch Dirt Cups
As fall rolls in, it brings with it a bouquet of aromas, vibrant leaves, and, of course, the much-anticipated return of pumpkin-flavored everything. Among the seasonal delights, Amazing Pumpkin Patch Dirt Cups stand out as a nostalgic treat loved by both kids and adults. If you’re wondering what they are, picture this: a scrumptious mix of chocolate pudding, crushed Oreos, and, of course, festive pumpkin flair—served up in a cup that resembles an adorable mini pumpkin patch!
What are Pumpkin Patch Dirt Cups and Why Are They a Fall Favorite?
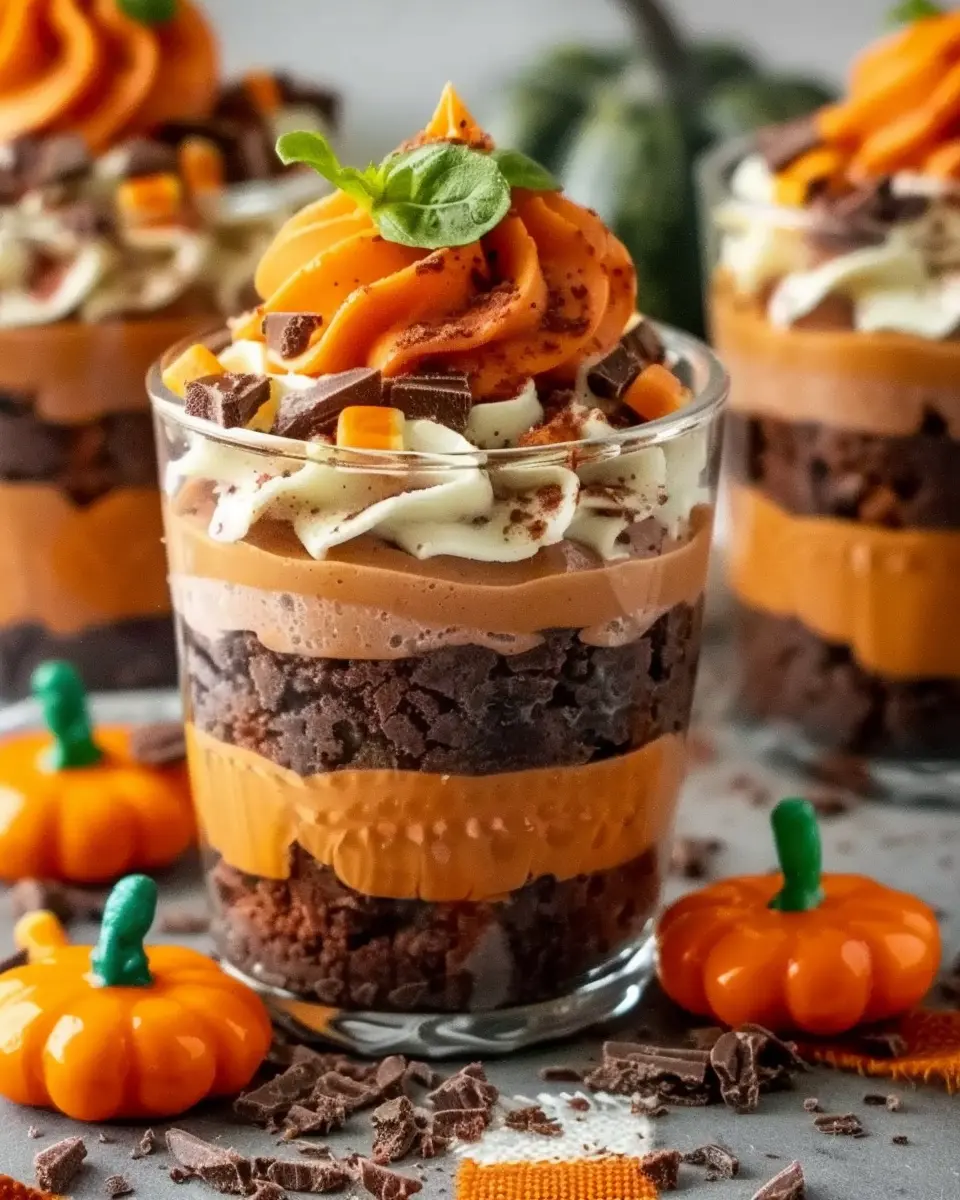
Pumpkin Patch Dirt Cups are an innovative twist on traditional dirt cups, usually made with layers of chocolate pudding and crushed cookies. These creative versions incorporate pumpkin spice, bringing a cozy and familiar flavor profile synonymous with autumn. They’re typically decorated to resemble a pumpkin patch, with candy pumpkins as cheerful pop-ups and crumbled cookies as the surrounding dirt—what’s not to love?
These cups have become a fall favorite because they evoke joyous memories of family outings to pumpkin patches and trick-or-treating. The combination of textures ensures that every bite is as delightful as the last, making them perfect for gatherings, class parties, or simply a cozy evening at home.
Is this your first time making these charming treats? You’ll be pleased to know they’re not just visually appealing—they’re easy to whip up! You can customize the recipe to fit any dietary preferences or occasion. Imagine making a dairy-free or gluten-free version to accommodate your friends! Creating these delicious desserts is not only fun but also a fantastic way to get everyone involved in the kitchen.
To dive deeper and discover various ways to personalize your Pumpkin Patch Dirt Cups, check out resources like Food Network or Allrecipes, which offer insights into similar delightful recipes and tips. Ultimately, these cups resonate with all ages, bridging the gap between childhood delight and adult sophistication, making them an absolute must-try this fall season!
Ingredients for Pumpkin Patch Dirt Cups
Essential ingredients for a delightful dessert
To whip up the amazing Pumpkin Patch Dirt Cups, you’ll need some key ingredients that make this dessert not only tasty but visually appealing. Here’s what you can’t miss:
- Chocolate pudding: This serves as the base and gives a rich, creamy texture.
- Crushed chocolate cookies: Think Oreos or any chocolate wafer cookies for that earthy “dirt” effect.
- Gummy worms: These add both a fun twist and a playful nod to the classic dirt theme.
- Pumpkin candy or candy pumpkins: These are essential for the festive pumpkin patch appearance.
- Whipped cream: For a luscious topping that creates a delightful contrast with the rich chocolate.
Optional ingredients for added flair
While the essentials are must-haves, consider adding these optional ingredients to elevate your amazing Pumpkin Patch Dirt Cups experience:
- Chocolate sprinkles: For extra decoration and texture.
- Fresh mint leaves: A pop of green that can brighten up the presentation.
- Homemade whipped cream: If you’re feeling adventurous, making it from scratch adds an exceptional touch.
By mixing and matching these ingredients, you can create a unique and charming dessert that’s perfect for any autumn celebration! Want more insights? Check out This Chocolate Pudding Blog.
Looking for creative ideas? Don’t forget to add your personal flair!
Step-by-step preparation of Pumpkin Patch Dirt Cups
Creating an Amazing Pumpkin Patch Dirt Cups Recipe is not only a delicious venture; it’s also a wonderful way to engage with those creative culinary juices. Whether you’re making them for a festive event, a Halloween party, or just for a cozy night in, these dirt cups bring out the kid in all of us! So, let’s dive right into the step-by-step preparation.
Gather and prepare your ingredients
Before jumping into this delightful recipe, it’s essential to gather your ingredients. Here’s what you need:
- 1 large box of instant chocolate pudding mix
- 2 cups of milk
- 1 tub of whipped topping (like Cool Whip)
- 15-20 chocolate sandwich cookies (like Oreos)
- Candy pumpkins (those cute little ones are a must!)
- Optional: Orange frosting or decorating gel for added flair
Be sure to have all these components handy. Organizing your kitchen before you start is a classic trick that can save you time and hassle!
Making the pudding mixture
Now that your ingredients are ready, let’s whip up the pudding! In a large mixing bowl, combine the instant chocolate pudding mix with 2 cups of cold milk. Using a whisk, stir the mixture for about 2 minutes or until it thickens to a luscious, velvety consistency.
For a more decadent touch, feel free to swap out the milk for a creamy alternative like almond or oat milk. Make sure to let the pudding sit for a few minutes to fully set. It’s at this stage that you can contemplate what makes chocolate pudding so irresistibly good—perhaps it’s those nostalgic memories of childhood desserts?
Whip the topping for creaminess
Next up is the whipped topping. In a separate bowl, scoop out your whipped topping and use a spatula to gently fold it. This process enhances its light fluffiness and ensures it will dissolve beautifully into the pudding mixture.
If you’re feeling adventurous, consider adding a teaspoon of vanilla extract for extra flavor. This doesn’t just elevate the taste; it’s a simple way to customize this Amazing Pumpkin Patch Dirt Cups Recipe to fit your palates!
Crushing the cookies for the “dirt” layer
Once your pudding and whipped topping are ready, it’s time for the “dirt”! Take the chocolate sandwich cookies and place them in a resealable plastic bag. Using a rolling pin or your hands, crush the cookies into fine crumbs. The texture should resemble that of coarse sand for the best visual appeal.
It’s satisfying to see those cookies transform, and it will remind you of how easy it is to create something that looks and tastes amazing!
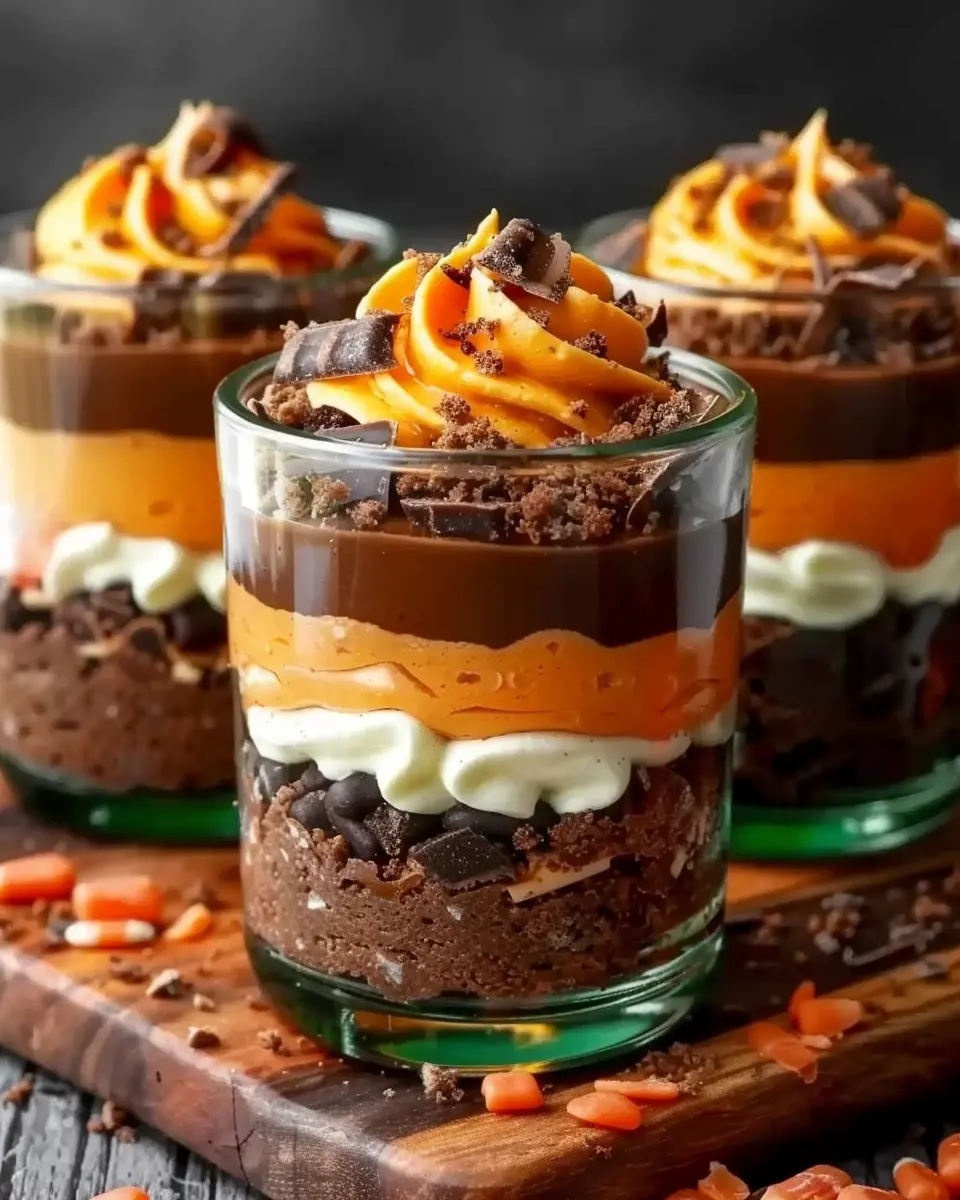
Assembling the layers in clear cups
Grab some clear cups or jars—this is where the magic will happen! Start by adding a generous layer of the chocolate pudding mixture to the bottom of each cup. Follow that with a layer of whipped topping, and then sprinkle some cookie crumbs on top for your delicious “dirt” layer. Repeat this process until you reach the top of your cups, finishing with a layer of cookie crumbs. Layering these elements not only enhances visual appeal but also creates a delightful texture with every spoonful.
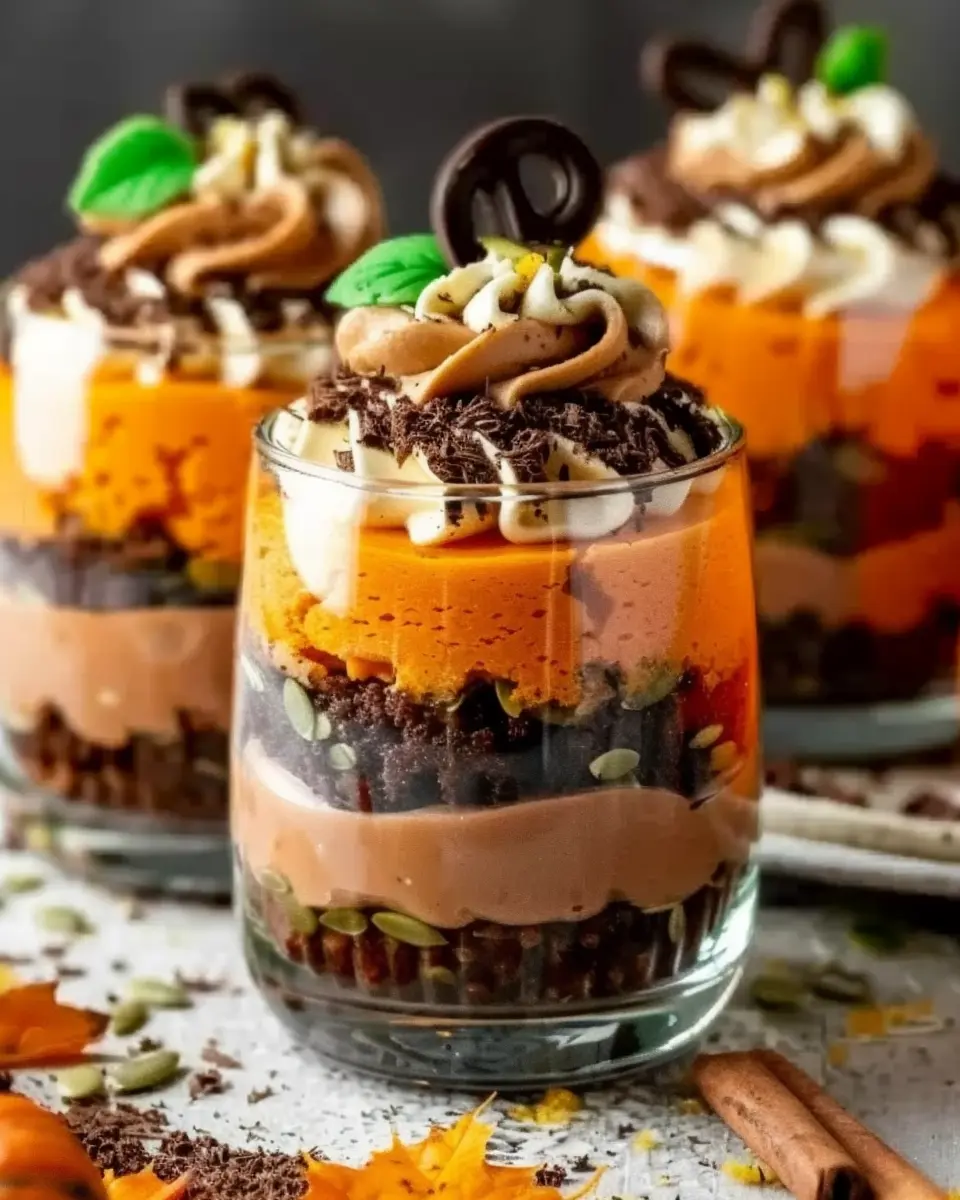
Decorating with candy pumpkins and optional frosting
To make your Pumpkin Patch Dirt Cups stand out, it’s time for the fun part: decorating! Place one or two candy pumpkins on top of each cup. If you want to go the extra mile, swirl a little orange frosting or decorating gel around the rim for an elegant touch.
These final touches really elevate the presentation and bring a festive, adorable element to your desserts. Each cup is not only scrumptious but also a feast for the eyes!
From gathering your ingredients to beautifully decorating your cups, making these pumpkin patch dirt cups is a journey filled with creativity and joy. Enjoy sharing them with friends and family. You might even inspire them to create their unique spin on this Amazing Pumpkin Patch Dirt Cups Recipe! For more fun recipes, check out The Spruce Eats and discover endless culinary adventures. Happy cooking!
Variations on Pumpkin Patch Dirt Cups
When it comes to the Amazing Pumpkin Patch Dirt Cups Recipe, the fun doesn’t stop at the basics. Think of this dessert as a blank canvas, ready for you to unleash your creativity. Here are some variations that can add an extra touch of excitement to your pumpkin patch cups.
Alternative toppings to experiment with
While crushed Oreos and whipped cream are the go-to toppings, consider mixing it up! Here are some ideas that can add texture and flavor:
- Caramel Sauce: Drizzle some caramel over the top for a sweet contrast.
- Chopped Nuts: Add some crunch with pecans or walnuts.
- Toasted Coconut Flakes: For a tropical twist, sprinkle some toasted coconut on top.
- Cinnamon Sugar: A light dusting of cinnamon sugar can elevate the flavor profile.
Feel free to explore various combinations, as this lets everyone customize their own jar as per their taste.
Fun twists like gummy worms and candy corn
One of the joys of making these cups is the ability to include whimsical elements. Gummy worms wriggling through the dirt can make your dessert both fun and appealing, especially for kids or the young at heart. And who can resist candy corn? Layer them in between the dirt for that traditional Halloween touch.
If you’re feeling particularly adventurous, why not try adding chocolate pumpkin spice candies for a pop of flavor? To dive deeper into fun ideas, check out resources from food blogs like BuzzFeed Food or Food Network to see how others are creating variations on classic desserts.
With these alternatives and fun twists, your Amazing Pumpkin Patch Dirt Cups Recipe will surely impress guests and keep them coming back for more!
Cooking tips and notes for Pumpkin Patch Dirt Cups
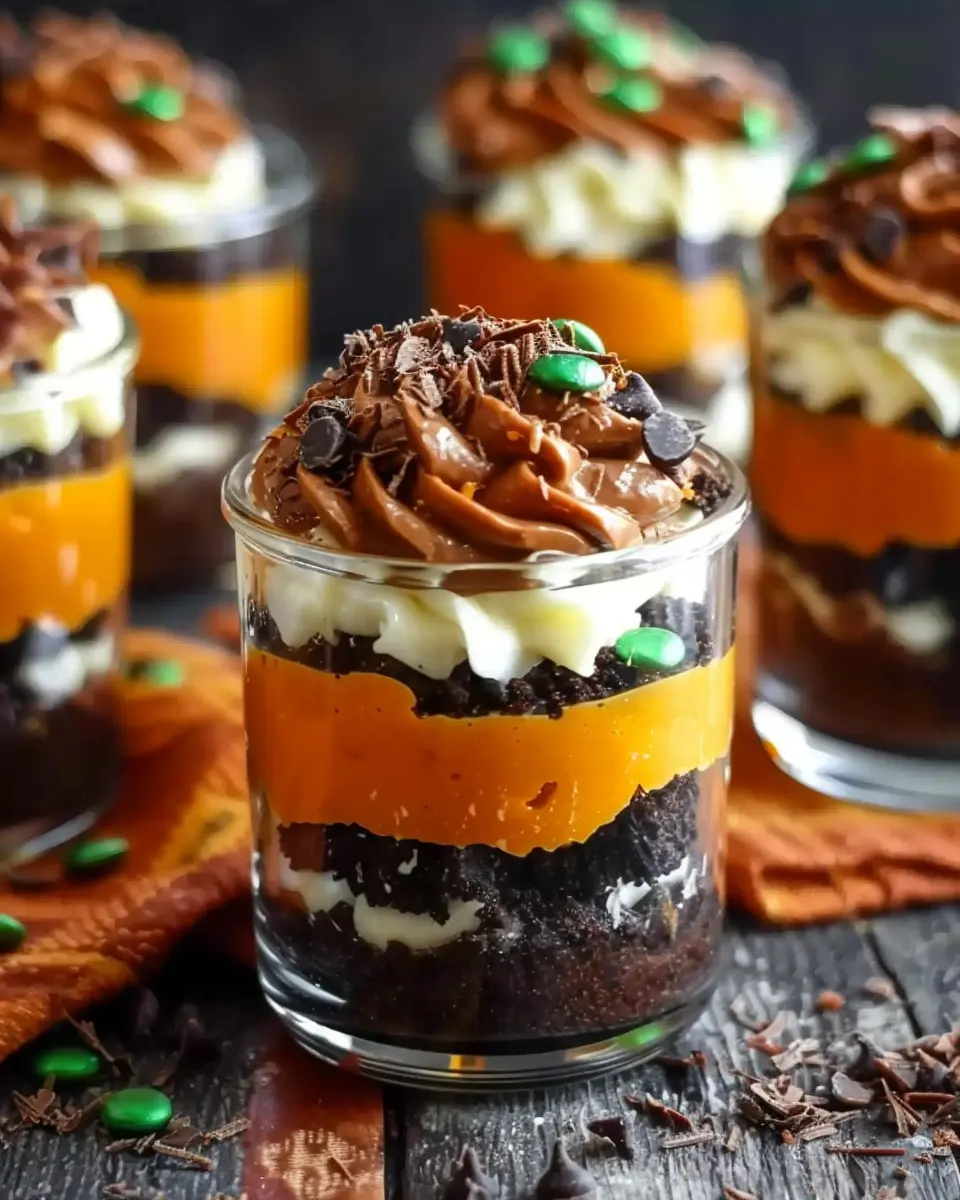
Best practices for presentation
When crafting your Amazing Pumpkin Patch Dirt Cups, presentation is everything! Start with clear cups so layers are visible—think of it as a mini dessert gallery. For added flair, use crushed graham crackers to mimic soil, and top each cup with a sprinkle of edible green grass (like coconut dyed with food coloring). Mini pumpkins or gummy worms can add whimsical charm. Remember, the appeal is in the layers, so take time to create appealing contrasts.
Tips for making ahead of time
Planning to impress at a gathering? You can easily prepare your Amazing Pumpkin Patch Dirt Cups a day in advance. Simply follow the recipe until assembly, then refrigerate the layers in separate containers. When it’s time to serve, spoon the layers into cups and garnish. Storing the layers separately prevents sogginess and keeps them looking fresh. Just be mindful to avoid assembling too early or the crunch factor of your topping might diminish!
For more ideas on creative dessert presentations, check out resources like Food Network for expert tips!
Serving suggestions for Pumpkin Patch Dirt Cups
Perfect occasions for serving
The Amazing Pumpkin Patch Dirt Cups Recipe is a delightful treat that fits perfectly into various occasions. Think about family gatherings, Halloween parties, or even a cozy movie night at home. These dirt cups not only offer a fun presentation that will impress your guests but also a delicious flavor that evokes the spirit of fall. They’re especially great for celebrating Thanksgiving, where you can incorporate them into a dessert table alongside traditional pies and treats.
Ideas for larger gatherings and parties
When hosting larger events, consider using a buffet-style setup. Make a big batch of the Pumpkin Patch Dirt Cups and place them in individual cups for ease of serving. This allows guests to grab their cups without the need for a serving line—perfect for mingling! For an extra festive touch, include labels with fun names like “Muddy Pumpkin Delights.”
If you’re looking to keep your guests entertained, set up a DIY topping station. Offer extras like gummi worms, crushed cookies, and whipped cream. This way, each person can customize their own cup, creating a unique experience while enjoying this seasonal treat!
For more ideas on how to elevate your gatherings, check out Good Housekeeping’s entertaining tips.
Time breakdown for Pumpkin Patch Dirt Cups
When you’re ready to whip up these delightful Amazing Pumpkin Patch Dirt Cups, it’s helpful to know how much time you need. Here’s a quick breakdown to help you plan your baking adventure.
Preparation time
Getting everything set up is a breeze! You’ll need about 20 minutes to gather your ingredients, mix the pudding, and layer those tasty components. It’s the perfect time to put on your favorite playlist!
Chilling time
Once everything is assembled, let your cups chill in the fridge for at least 2 hours. This step is crucial, as it helps the flavors meld together beautifully. Plus, it gives you a moment to unwind or tackle that laundry pile.
Total time
In total, you’re looking at roughly 2 hours and 20 minutes to create these delicious Amazing Pumpkin Patch Dirt Cups. That’s just enough time for a well-deserved break while your dessert gets cozy in the fridge! For more tips on managing your dessert timeline, check out this informative guide to help you maximize your kitchen efficiency.
By understanding this time breakdown, you’ll find it easier to fit this fun recipe into your day!
Nutritional facts for Pumpkin Patch Dirt Cups
Calories per serving
When indulging in this delightful Amazing Pumpkin Patch Dirt Cups Recipe, each serving typically contains around 220 calories. It’s a satisfying treat that balances fun and flavor without going overboard.
Nutritional highlights
These Dirt Cups not only look cute, but they also pack a punch in terms of nutrition. Here are some highlights:
- Whole Grains: Using chocolatey granola provides fiber, aiding digestion and making it a bit more wholesome.
- Dairy: Creamy pudding contributes calcium for strong bones, and when you use a low-fat version, you’ll cut back on the calories.
- Pumpkin: The star ingredient adds a dose of vitamin A and antioxidants for skin and eye health.
As with any sweet treat, moderation is key. Want to learn more about the health benefits of ingredients like pumpkin? Check out the Nutrition Source for an in-depth look.
These delicious cups bring a touch of autumn to your table while also offering some nutritional benefits, making them a great choice for gatherings or cozy nights in.
FAQs about Pumpkin Patch Dirt Cups
When it comes to hosting a fall gathering or simply getting into the seasonal spirit, Amazing Pumpkin Patch Dirt Cups can elevate your dessert game. Here are some frequently asked questions to help you master this festive treat.
Can I make these in advance?
Absolutely! The beauty of Pumpkin Patch Dirt Cups lies in their make-ahead potential. You can prepare the pudding and cookie crumble a day or two before your event. Store each layer separately in the fridge. Just assemble them a few hours before serving to keep the layers fresh and vibrant. This not only saves time but allows the flavors to blend beautifully.
How do I adjust the recipe for more servings?
Scaling up is easy! If you’re looking to serve a larger crowd, simply multiply each ingredient by the number of servings you need. For instance, if the original recipe serves four, and you’re serving eight, just double everything. If you’re concerned about ingredient ratios, consider adding extra layers of cookie crumbles or pumpkin spice to maintain the texture and flavor balance that makes this Amazing Pumpkin Patch Dirt Cups Recipe a hit.
Are there dairy-free options for this recipe?
Definitely! You can easily create a dairy-free version by substituting regular pudding with plant-based alternatives. Use almond milk or coconut milk, and opt for dairy-free whipped topping or coconut whipped cream. Many brands offer great dairy-free pudding mixes that will give you that creamy texture without the dairy. You can also find recipes for making your own vegan pudding if you’re feeling adventurous.
For more tips on dairy-free options, consider checking out resources like Dairy-Free Recipes for additional inspiration. Enjoy creating these delicious treats that everyone—regardless of dietary preferences—can appreciate!
Conclusion on Pumpkin Patch Dirt Cups
Recap of the joy and simplicity of making Pumpkin Patch Dirt Cups
Making these Amazing Pumpkin Patch Dirt Cups is an experience that’s as enjoyable as it is delicious. With a few simple steps, you can create a delightful dessert that not only tastes great but also sparks joy and creativity. These delightful cups are perfect for any season, but they shine especially during fall gatherings or Halloween celebrations.
Gathering with friends or family to assemble your cups can turn into a fun activity, making memories along the way. Whether you’re impressing guests or simply treating yourself, these dirt cups serve up smiles every time. If you’re looking for other ways to enhance your dessert table, check out more ideas from The Spruce Eats to inspire your next creation!
PrintAmazing Pumpkin Patch Dirt Cups Recipe: A Fun and Festive Treat

This Amazing Pumpkin Patch Dirt Cups Recipe is a delightful and festive treat, perfect for fall gatherings and Halloween celebrations. Each cup is layered with creamy goodness and topped with fun decorations, making it a hit among both kids and adults.
- Prep Time: 15 minutes
- Cook Time: 0 minutes
- Total Time: 45 minutes
- Yield: 4 servings 1x
- Category: dessert
- Method: no-bake
- Cuisine: American
- Diet: vegetarian
Ingredients
- 1 package chocolate pudding mix
- 2 cups milk
- 1 package crushed Oreo cookies
- 1 package gummy worms
- 1 cup whipped topping
- 1 pound candy pumpkins
Instructions
- In a mixing bowl, combine the chocolate pudding mix and milk. Whisk until smooth and let it thicken.
- Fold the whipped topping into the pudding mixture until well combined.
- In cups or small bowls, layer the pudding mixture and crushed Oreo cookies.
- Top with gummy worms and candy pumpkins for decoration.
- Chill in the refrigerator for at least 30 minutes before serving.
Notes
- For a fun variation, you can use vanilla pudding and tint it orange for a pumpkin flavor.
- Feel free to add additional Halloween-themed candies for extra fun!
Nutrition
- Serving Size: 1 cup
- Calories: 260
- Sugar: 24g
- Sodium: 150mg
- Fat: 12g
- Saturated Fat: 6g
- Unsaturated Fat: 4g
- Trans Fat: 0g
- Carbohydrates: 36g
- Fiber: 1g
- Protein: 3g
- Cholesterol: 30mg
Keywords: pumpkin, dessert, Halloween, festive treat, chocolate pudding